Pages

Friday, August 1, 2014

The World of Ciate London - Review and Swatch

I ordered Ciate London mini mani month from NZ Sale. It took about 7-8 weeks to arrive, that was indeed a long wait. A big disappointment from NZ Sale about the delivery timing, I had to chase them few times to know where my product was. Although they had the tracking link, trust me it doesn't state the true status. I would love to use their service again to get more products should they improve on their delivery timing. 

Price in NZD: $35 + $10 courier 

Coming back to Ciate Nail polishes, these are mini bottles which was released last year before Christmas. It has 22 mini bottles, a funnel and 2 mystery gifts (Sparkly nail filer and a bow bracelet). 


Very pretty packaging and if you get this before Xmas, you can open one bottle a day for a surprise color. I would love to do that this holiday season.  

Colors: (L to R)
1st Row - hidden gem, loop the loop, boudoir, hopscotch
2nd Row - lickerbockerglory, kiss chase, hoopla, iced frappe, amazing gacie, members only
3rd Row - talent scout, sugar plum, pillow fight, chinchilla, apple & custard, sequins mistletoe magic
4th Row - fit for a queen, snow globe, party shoes, glitter glitter all the way, caviar pearls deck the nails, caviar pearls ice queen

The polishes are of great consistency, not too thin nor too thick. The application brush is quite small but it's only a miniature bottle. It dries quickly and doesn't stain nails. 

I am in love with all the colors above especially pastel colors. I found couple of similar colors I already own from OPI and Essie. 

Essie - Orange it's obvious
Ciate - Hopscotch
Ciate - Hidden Gem
OPI - Don't talk bach to me

Overall I am in love with Ciate Nail polishes, latest obsession for sure. I have been trying many nail art designs and will definitely more of it.
Apple and custard
Top - Talent scout
Bottom - Sugar plum
Base - Members only
Caviar pearls - Ice queen
I plan to create more nail art designs from the rest of the colors. Keep watching my Instagram page :)

Sunday, June 29, 2014

Formula 1 - Ferrari Nailart


Polishes used:
@Sally Hansen cherry red
@Australis rub-a-dub-dub
@L'Oreal blue reef
@maybelline  onxy rush 430
@orlycolorblastnz white out
@opi_products rapidry topcoat 
@orlycolorblastnz top2bottom basecoat 

Tools used:
Nailart thin brush
Cleaning brush
Sally Hansen acetone-free nail polish remover for cleaning
Lush lemony flutter to go after the nails are dried 

Melbourne 2014 F1 Grandprix
My husband has been requesting this nailart for a while so I created one for him. He is a big fan of Formula 1 and supports Ferrari of course. I know little about Formula 1 but have managed to learn a lot since I met my husband 5 years ago. We have seen Formula 1 in action live on two occasions. Once in 2011 and 2014 this year in Melbourne Grandprix. I never thought I would enjoy the car race, it's definitely one of an experience to remember for a first timer. I like Jenson Button because of his looks ;) <husbandjealousalert>. However, I support Ferrari too :) Forza Ferrari.


Converse shoe nailart


I collaborated with one of the Instagrammer Nailvids_tj using her nailart pictorial tutorial to create this look.

Polishes used:

@opi_products planks a lot 
@orlycolorblastnz white out 
@maybelline  onxy rush 430 
@opi_products rapidry topcoat 
@orlycolorblastnz top2bottom basecoat

Tools used:
Dotting pen
Nailart thin brush
Cleaning brush
Sally Hansen acetone-free nail polish remover for cleaning

Wednesday, June 25, 2014

Jigsaw puzzle nail art and Orly colorblast nail polish review

I won top 6 selling nail polishes from Orly Colorblast NZ recently and on receiving them I wanted to create a design out of all 6 six colors. I take it as a challenge. Have you noticed that I normally create a design out of the new colors I get? I enjoy working with colors. 
Jigsaw nail art design
Nail Polishes I received from Orly ColorblastNZ.

The colors are from left to right:
- peach pastel neon
- tangerine neon 
- sky blue 
- rose chrome foil
- true neon pink 
- pink luxe shimmer

The consistency of these nail polishes is quite thin. I had to apply at least 3 coats to get the right color. Mind you these colors are really bright and truly neon(y). The photos don't do justice, in reality it looks much brighter. 
The disappointments I had was in the orange tones, after using it on my accent nail to create jigsaw puzzle art, the two colors seem to be very similar. There is not much difference in shades. And the skyblue color looks different to the color as seen in the bottle. It's much lighter to the color in the bottle on application.

Out of all 6 colors, my favourite was pink luxe shimmer. 

These colors are more for summer especially the oranges and true neon pink. I can't wait for summer to start in NZ, just few more months to go. haha 

My skin care routine

I have a routine for my skin.

Morning:

Face wash with The BodyShop Vitamin C Facial Cleansing Polish
- Apply Clarins Double serum
- Apply Clarins multi active day cream with SPF

Apply Clarins Eye revive beauty flash for my dark circles/puffy eye
Night:

Remove makeup  MAC oil based remover for eyes and lips makeup or water based cleanser for full face light makeup (this is a must step for a night routine to avoid clogged pores resulting unwanted pimples)
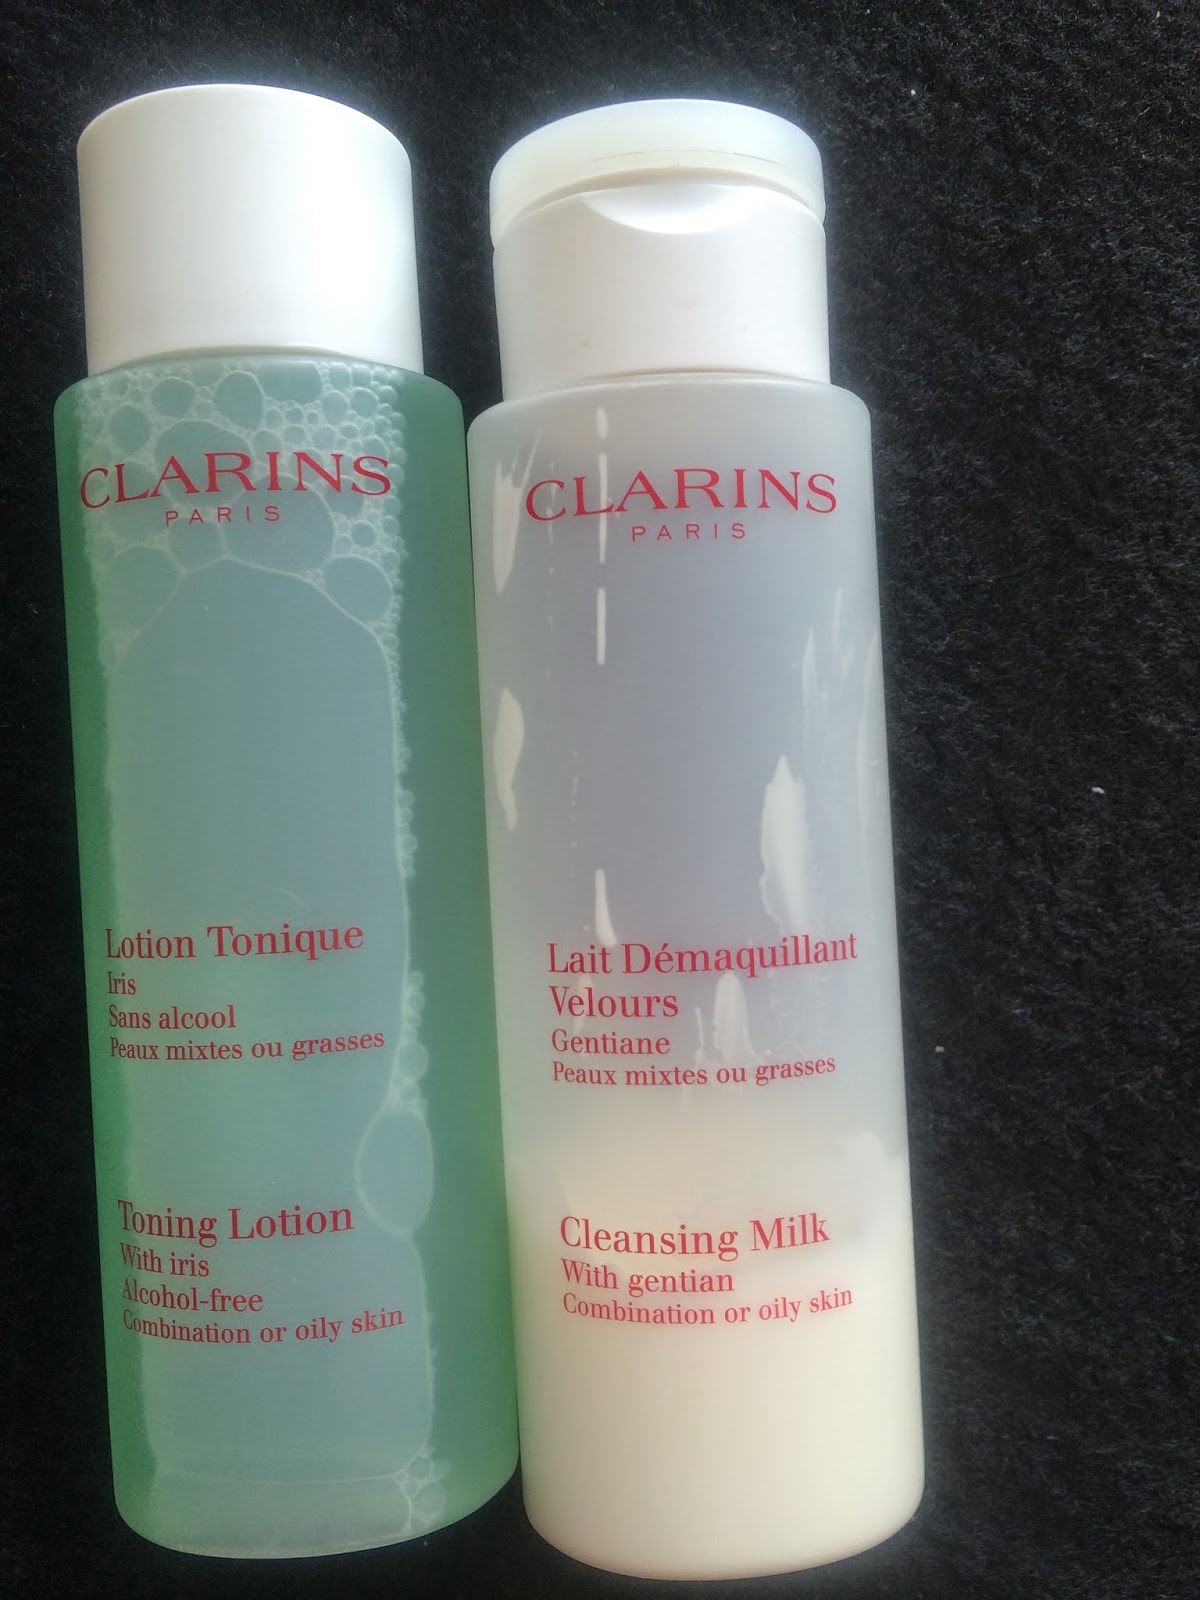
- Cleanse with Clarins cleanser
- Tone with Clarins Toner

- Apply Clarins night cream or I spray some rose water to keep my skin hydrated and rose water is good for dark circles too.

I have been following this routine for over 2 years now and my skin is smooth. This doesn't mean I have not been trying any new products. Initially I was hesitant to try new products, but I have given it a go to some new products recently.
As mentioned in one of my previous post, I am using Love skin Je'Taime oil for past few weeks, mainly at nights so I alternate between Clarins multi active night cream.

I am currently also testing Garnier Skin brightening cream I won on Facebook.

Share your skincare routine here :)

Saturday, June 14, 2014

Red Flowers Nail Art


I did a maniswap on Instragram this week and I am very happy with the outcome. 

Colors used:
OPI Red my fortune Cookie - Main red color on the nails 
Maybelline Onxyrush 430 - Black highlights on the flowers
Orlycolorblast Whiteout - White on accent nails 
Loreal Bluereef - Green leaves 


Wednesday, June 11, 2014

Nail Care/Art Tools - My must-haves

12
1. Nail Buffer - This is a 4 way nail buffer which has 4 steps to even out, smooth, buff and shine nail. This is easily available in any pharmacy or department store.

2. Nail File - A metal nail file I use for shaping my nails. This is available in any pharmacy, department store or dollar store.

3. Cuticle Pusher - Cuticle pusher helps to push tough, hard cuticles back. I soften my cuticle first before using cuticle pusher to avoid skin cut. Check out my previous post for the products I use to soften my cuticle or just soak your nails in warm water before pushing the cuticle.

4. Cuticle Nipper - I use this cuticle nipper for cutting any dead cuticle. Make sure you cut only dead cuticles and not healthy cuticles. You need healthy cuticles to protect your nails.

5. Zig Zag Scissors - I use this zig zag scissors to cut stripes for my nail art. Check out my nail art where I have used zig zag stripes.

6. Scissors - Scissors are used for cutting stripes or scotch tape.

7. Labelling stickers - It is hard to find ready nail art vinyls here in NZ so I use labelling stickers to cut my own vinyls.

8. Cotton Pads - Cotton pad is used for removing nail polish from nails and brushes.

9. Striping Tapes - I bought this striping tapes from TradeMe, they are way too thin so requires lot of patience to go on nails. This is self adhesive stripes so you can either use it on nails on its own or use it as nail vinyls.

10. Makeup sponges - I use makeup sponge to create gradient nails. Soak the sponge in the water, apply your favorite colors on the sponge and tap it on your nails to create gradient look. Check out my Instagram video where I have used gradient nails as background to draw a shell shape on it. Another Instagram pic to refer to.

11. Scotch Tape - Scotch tape is used for covering skin around nails or for creating geometric shapes on your nails. Check out my Instagram pic for reference.

12. Nail art brushes and dotting tool - I bought these nail art brushes from TradeMe. It comes in a cute bag along with dotting tools. There are 16 brushes and 5 dotting pens. I have used few brushes to create this beautiful flower nail art. Dotting tools is a must have for me, I can do so many designs out of it. Check out my simple french tips using dotting pens.